How to Create Custom Footer in Elementor.
Creating a custom footer in Elementor is straightforward and can be done in a few steps. Here’s how to do it:
Get Elementor Pro version.
Step 1:
Download the 56 Footer Bundle to save time. If you’ve already done this, proceed to Step 2.
Step 2:
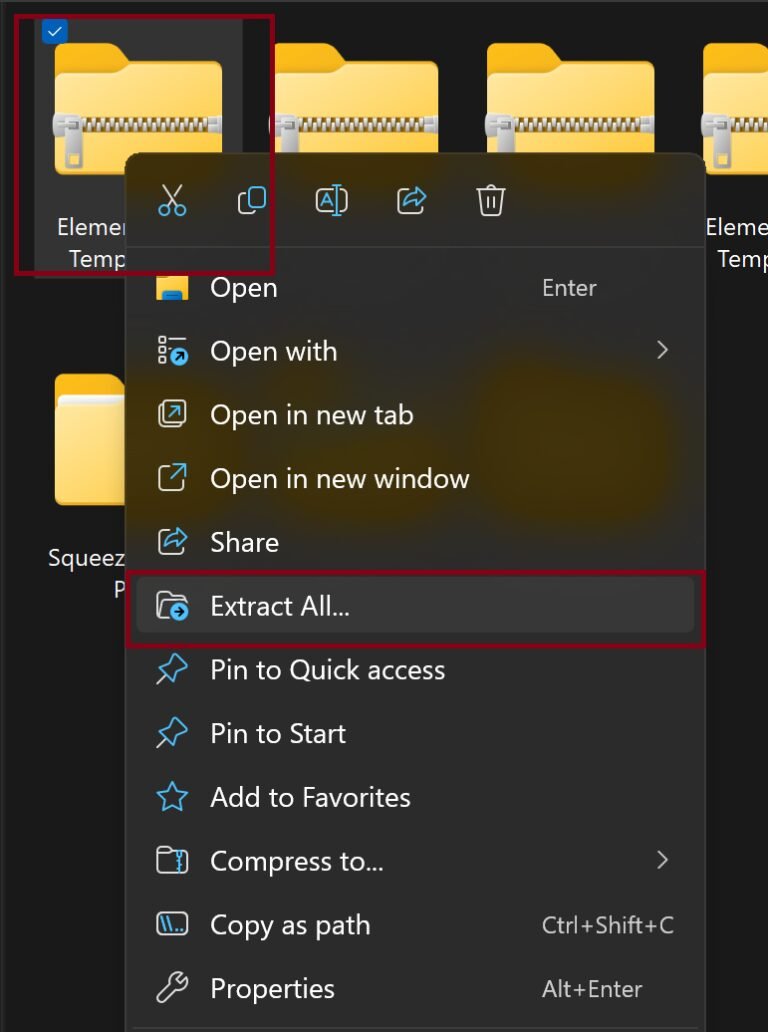
Unzip Downlaoding File.

Step 3:
Activate all Elementor new features such as Gird and Containers. Go to Elementor > Setting > Features tab.


Step 4:
Watch the below video and Import Templates.
Step 5:
Watch the below video and start creating new custom footer in Elementor Pro.
Step 6:
Customize the Footer
Modify the layout, colors, fonts, and spacing to suit your preferences.
Customize the footer as needed to match your design.
Method 2:
Since Elementor Free does not support Theme Builder, use a plugin like Elementor Header & Footer Builder.
Click Publish to apply the custom footer site-wide.
Install & activate the Elementor Header & Footer Builder plugin.
Go to Appearance > Header Footer & Blocks.
Click Add New, set the type as Footer, and choose Display Rules.
Insert templates like a we did in step 3.
